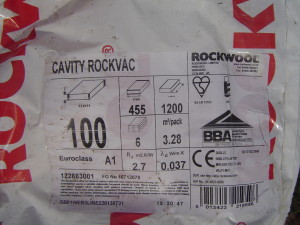
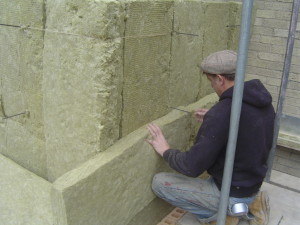
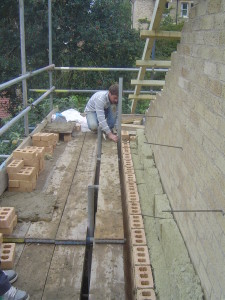
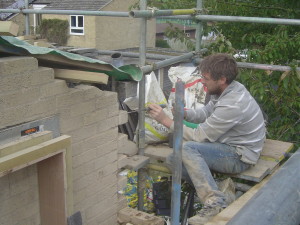
We used Rockwool Cavity insulation because we believe it;
- Is very stable over the long term (it doesn’t slump);
- Doesn’t deteriorate when it gets wet;
- Is affordable; and
- Is readily available.
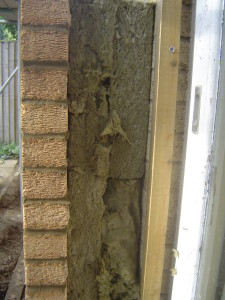
On the large dining room window we couldn’t fit window boxes so the cavity is exposed in the short term.
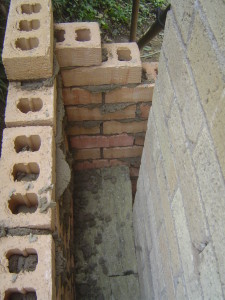
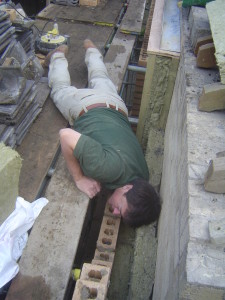
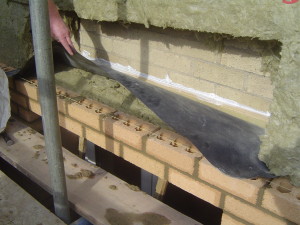
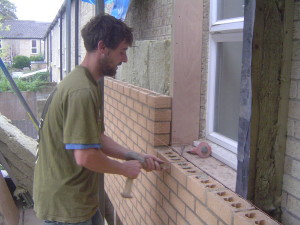
When the brickwork went above the insulation the bricklayers and I had to clean out the mortar snots to avoid great lumps of mortar getting caught up within the insulation.
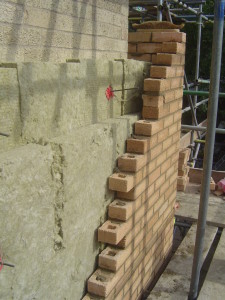
By insulating ahead of the new bricks it seemed to keep the cavity cleaner although some mortar still got squashed into the cavity as the bricks were laid.
After a couple of hours the mortar could be fished out from within the cavity – not a very pleasant task. If we had used a Rockwool batt with a greater density it may have been less affected by the mortar.
The junction at the front with the existing wall started to go well despite the challenge of toothing out the existing wall.
We sometimes used insulation retaining clips to hold the insulation in place but we didn’t always have a wall tie at the right spot.
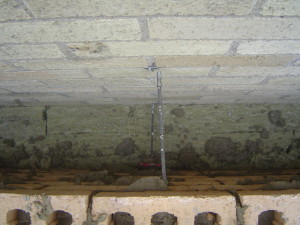
We had to make sure that the area above the lintel and beneath the DPC was filled with insulation.
Rear elevation.
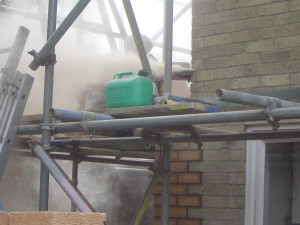
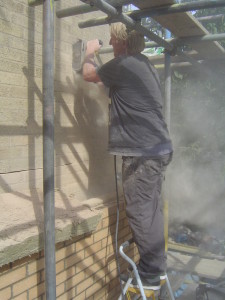
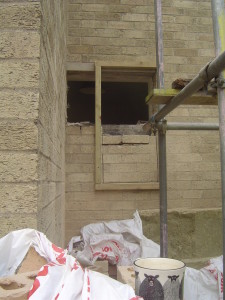
Each of the three new window openings had to be started with a disk cutter.
Rear elevation.
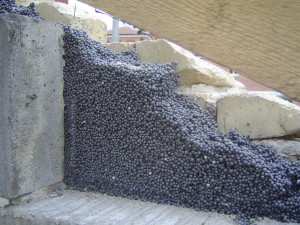
I was pleasantly surprised at how well the polystyrene bead insulation had filled the original cavity.
The bathroom window had to change from landscape to portrait to accommodate the new wall.
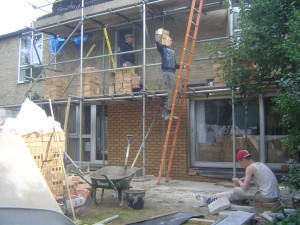
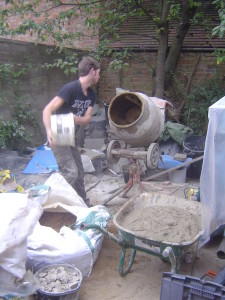
We had the cement mixer set up in the front garden.
Dave was very tolerant of my desire to make sure that the insulation was perfectly fitted. On one occasion we had to take a couple of bricks out to fill a hole.
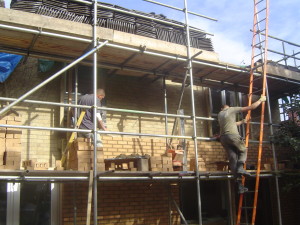
Gable wall.
Dave and Pete managed to tooth out all the way to the top without breaking a single brick.
